While modern computer-aided analysis tools give super-accurate stress results for a certain load, the actual maximum load is often the least known element in what the designer can be sure of when designing a gear drive for a dynamic environment. How to manage that dynamic simulation efficiently and master the possible cross-system interactions occurring between the application environment – the machine – the controller software – and the user? These are probably the most critical parameters when trying to reach the next level of perception and interpretation.
MotionLabTM, which is part of ATA’s expanded serviceportfolio, offers ATA’s customers a great new opportunity to get to know and understand exactly what kind of an environment their bevel gears live in. The so-called ”smartgear” is at the core of this service.


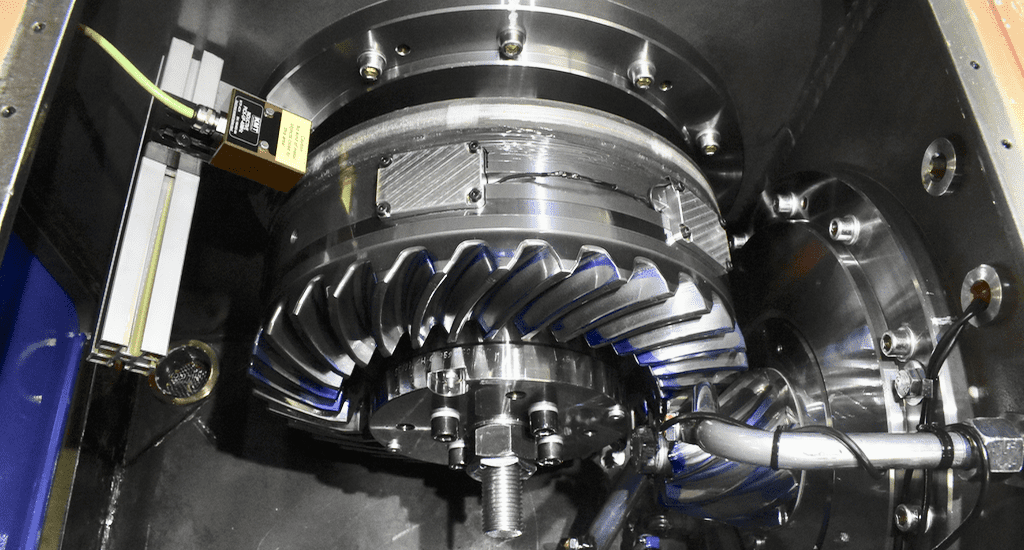
At ATA’s test bench environment, tooth root fillets were equipped with strain gauges, making it possible to measure the load directly from the teeth themselves. You simply cannot get closer thanthis to actually knowing your machine inside out. When, for example, with a nine-toothed pinion rotation happens at 1500rpm, tooth engagement takes place in 0.004 seconds, meaning that really high measuring frequency is needed. The smartgear rises to the challenge with 100 measuring points per tooth engagement. Also, the high frequency signal needs to be transmitted from the rotating component to the measuring system. Using the latest state-of-the-art telemetry device from German KMT, the smartgear responds with 100 points during one tooth contact at full speed.
So let’s be confident about the future. As part of your power transmission line-up, smart bevel gears can bring great value both in condition monitoring and product development.

Gábor Szánti, ATA’s Product and Process Development Manager
EMAIL